4 minutes
Deploying Proxmox VMs with Terraform - Building a Template VM
This post is part of the Homelab Repo and Homelab series.
In the last post, I set up 1Password in Terraform. Before I can deploy any VMs with Terraform, I need to build a template that we can clone from. This post will cover the steps to build that template VM in Proxmox.
Template VM
A template VM is a VM that Proxmox can clone to create new VMs, this may include an image with tools installed that you use or could be very minimal. I will be using a cloud image for this template, and keeping it as minimal as possible as I will be installing the tools I need later through other IaC tools, such as Ansible. This image will also then be used as the basis for the majority of Linux VMs in my lab, only using other distros where necessary.
Downloading a Cloud Image
For the Cluster, I will be using Ubuntu 24.04 LTS. I have found Ubuntu tends to work better when I have deployed Kubernetes in the past, and I prefer the LTS releases for important services such as this. If you prefer to use a different release, you can find the correct Ubuntu image here. Be sure to look for the QCow2 UEFI/GPT Bootable disk image, which should have a .img extension. To do this from the Shell, you can use the following commands:
wget -o ubuntu-24.04-server-cloudimg-amd64.qcow2 https://cloud-images.ubuntu.com/noble/current/noble-server-cloudimg-amd64.img
Creating a VM
Now we have the image, we need a VM that will become the template.
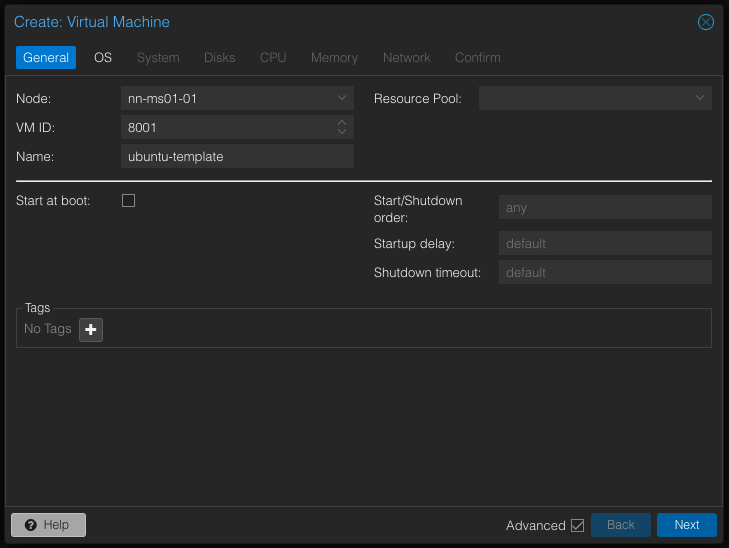
Add a new VM, with the ID 8001, and give it a name that makes sense. I’ve called it ubuntu-template.
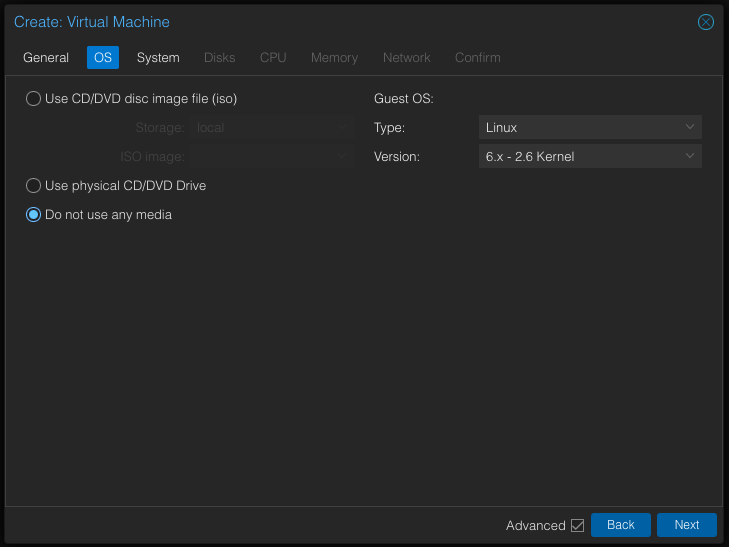
In OS settings, select Do not use any media. As we are using a cloud image, we won’t go through the standard installation process.
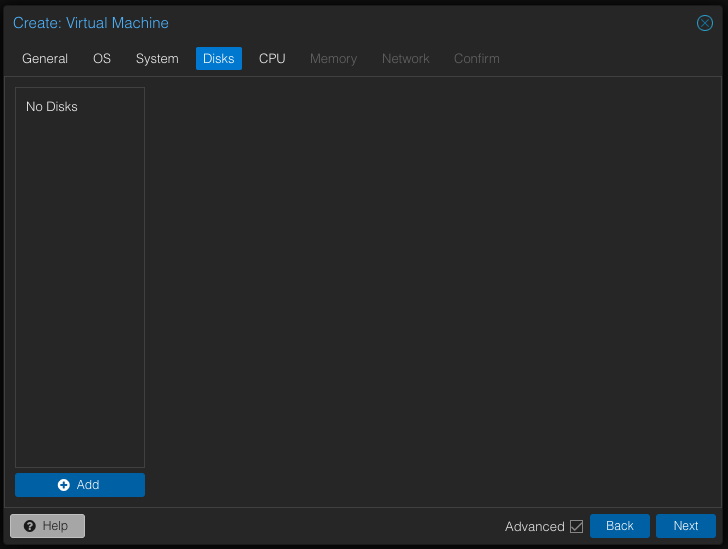
In the Disks tab, delete the existing disk. We won’t need it as the image we downloaded will become the disk. We will also be able to add additional disks from Terraform later.
Feel free to customize the other settings as you see fit, but we will be overriding them in Terraform anyway so it’s not a big deal.
Preparing the Image
Now we have the VM created, we need to run a few commands to prepare the image we downloaded. The first thing we want to do is resize the image. I use 32GB disks for the boot disks, and will add additional data disks later from Terraform.
qemu-img resize ubuntu-24.04-server-cloudimg-amd64.qcow2 32G
Next, we need to install the Proxmox VE Guest Agent. This is done by running the following command:
virt-customize --install qemu-guest-agent -a ubuntu-24.04-server-cloudimg-amd64.qcow2
You can install additional packages if you prefer, but I keep this as minimal as possible and use other IaC tools to manage installed packages.
Attaching the Image
Now we can import the disk and attach it to the VM. To import it, run the following command:
qm importdisk 8001 ubuntu-24.04-server-cloudimg-amd64.qcow2 local-lvm
This will import the disk to the local-lvm storage pool and attach it to the VM. We also need to add serial and VGA, do so with the following commands:
qm set 8001 --serial0 socket --vga serial0
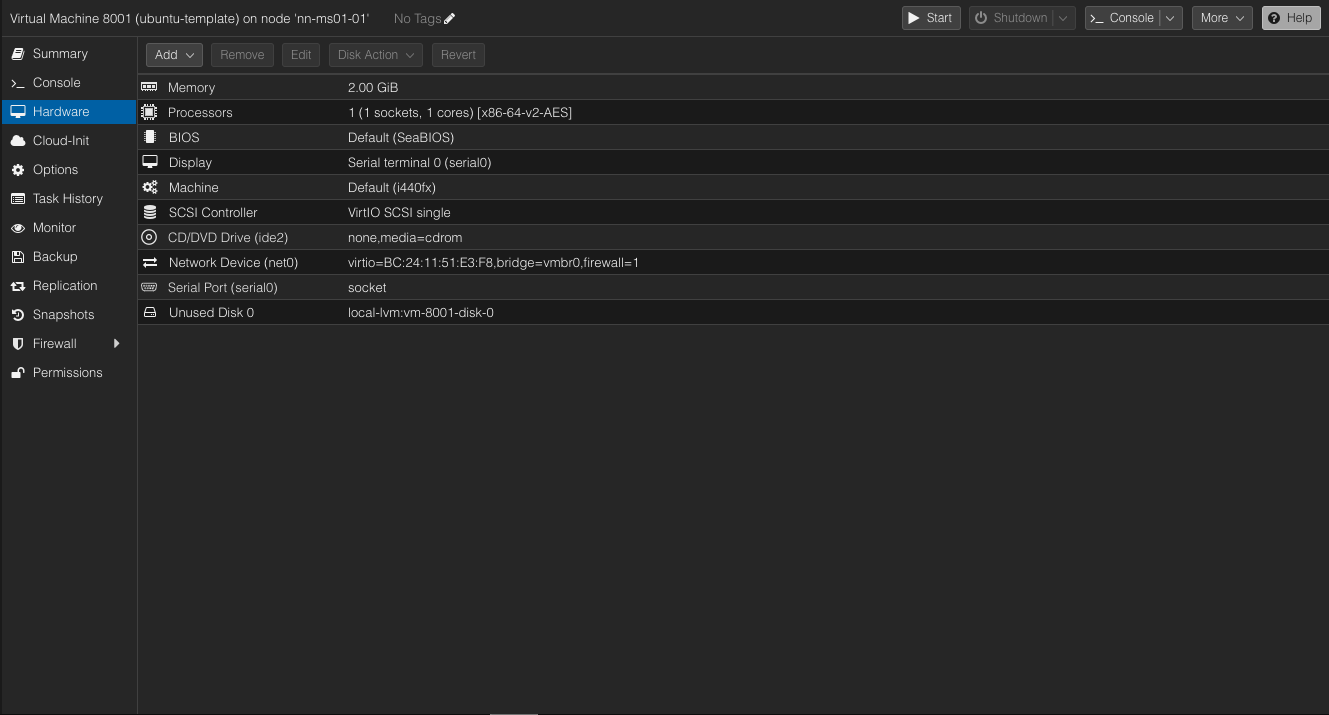
Finally, in the VM, we should have a Unused Disk 0. Select it, then edit.
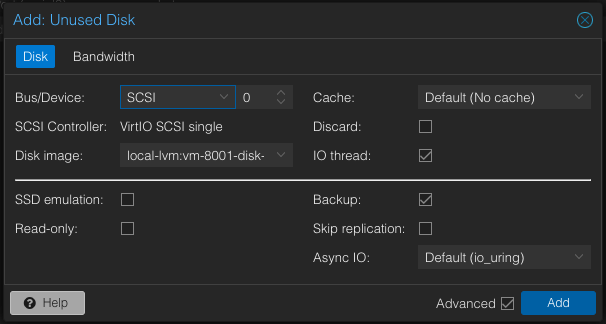
Click ‘Add’ to add the disk to the VM.
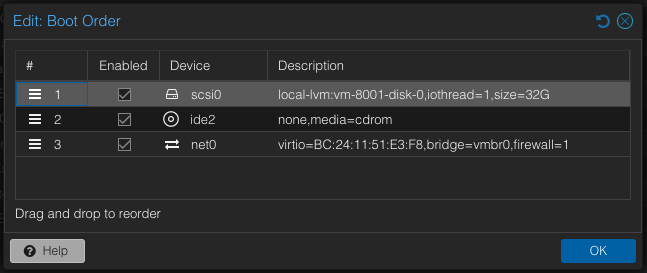
Lastly, in the ‘Options’ Tab, select ‘Boot Order’ and edit. We need to enable to new disk so that the VM can boot from it. I also set it to the first position so that the VM will try booting from it first.
Convert to a Template
The VM is now ready, we just need to convert it to a template so that Proxmox knows it’s a template and not a normal VM. Select the VM, and right Click. Select ‘Convert to Template’.
Conclusion
We now have a Template VM that we can use to deploy new VMs. In the next post, I will build out a Terraform Module to deploy a mixed use Kubernetes Node.