5 minutes
Using 1Password in Terraform

This post is part of the Homelab Repo and Homelab series.
Part of the All in One Homelab repo is the idea to take a production ready approach to building infrastructure as code, while also keeping it public. This means that I need a method to manage secrets without committing them to the repo.
To accomplish this, I am employing the use of 1Password as my secret management tool. 1Password is my password manager of choice, it’s the password manager we use at work, and it has a ton of great developer focused tools, such as a CLI, and a Terraform provider.
Setting up a 1Password Service Account
Before we can use 1Password in Terraform, we need a method for Terraform to authenticate with 1Password so that it can create, manage and retrieve secrets. I decided to use a Service Account for this, which is a special type of account within 1Password that uses an API token to authenticate with 1Password, can have limited access allowing me to only give access to the ‘Homelab’ vault, and allows you to choose between Read only or Read/Write access.
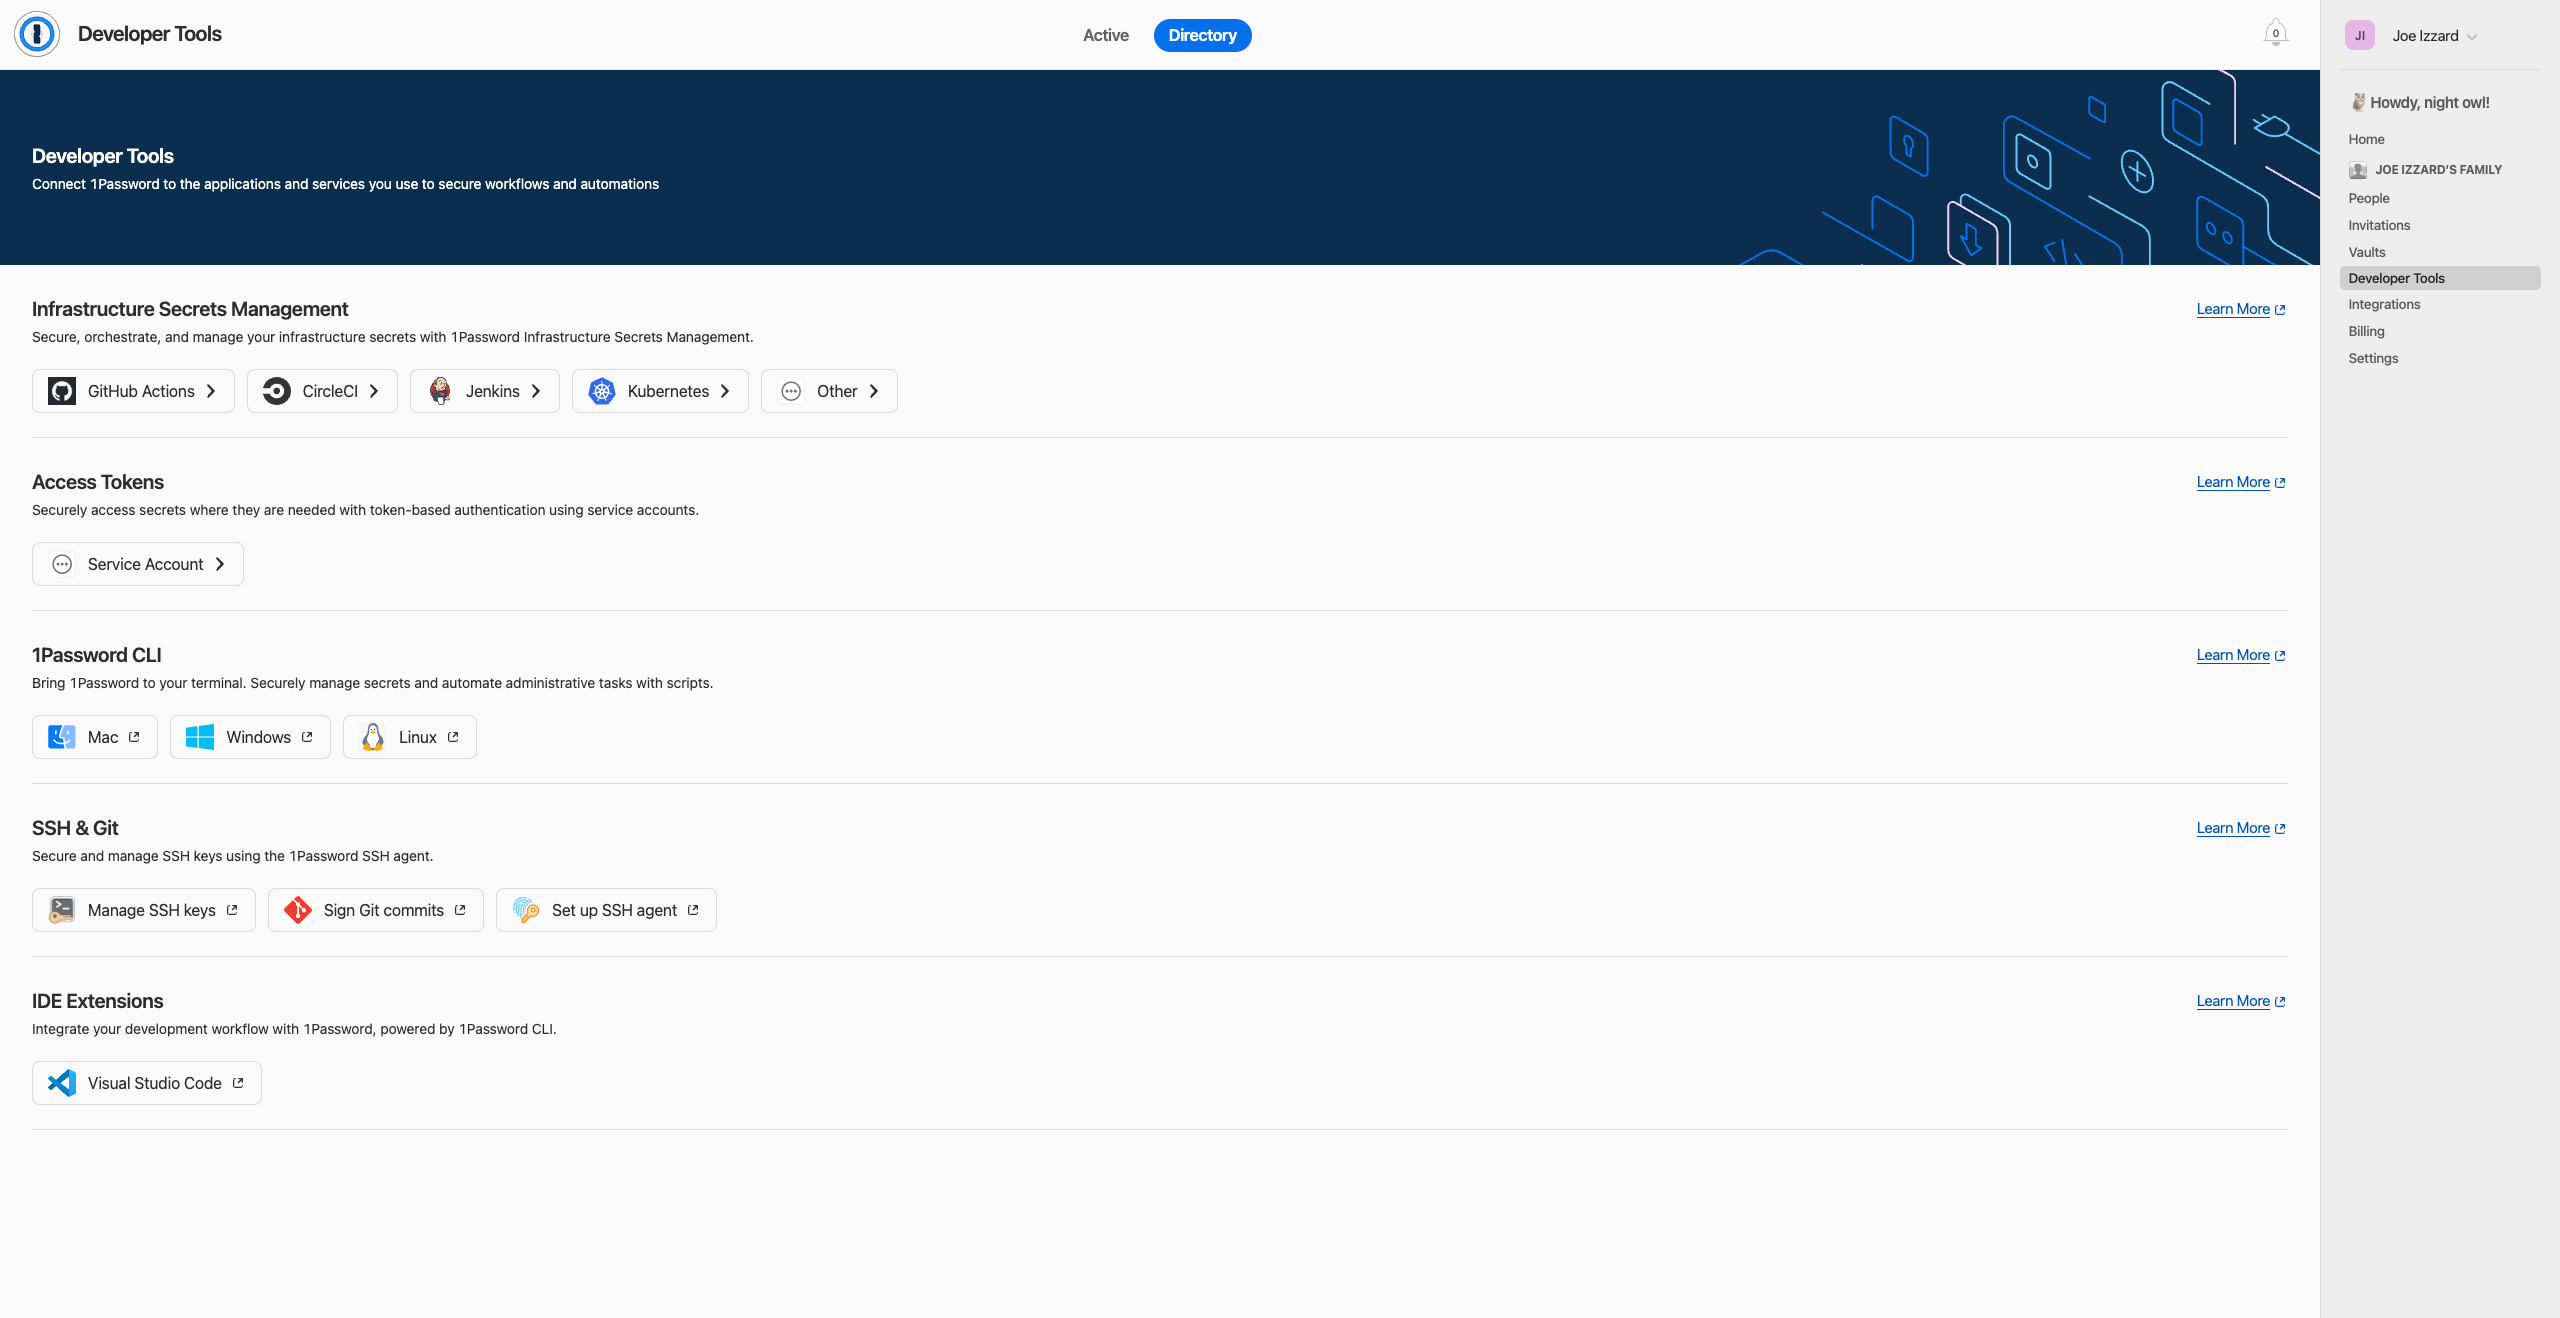
To create a Service Account, log into your 1Password account on the website, and head to the ‘Developer Settings’ Tab. If you already have a service account or similar set up, you will need to click the ‘Directory’ tab at the top of the page. Click the “Service Account” button under the Access Tokens section.

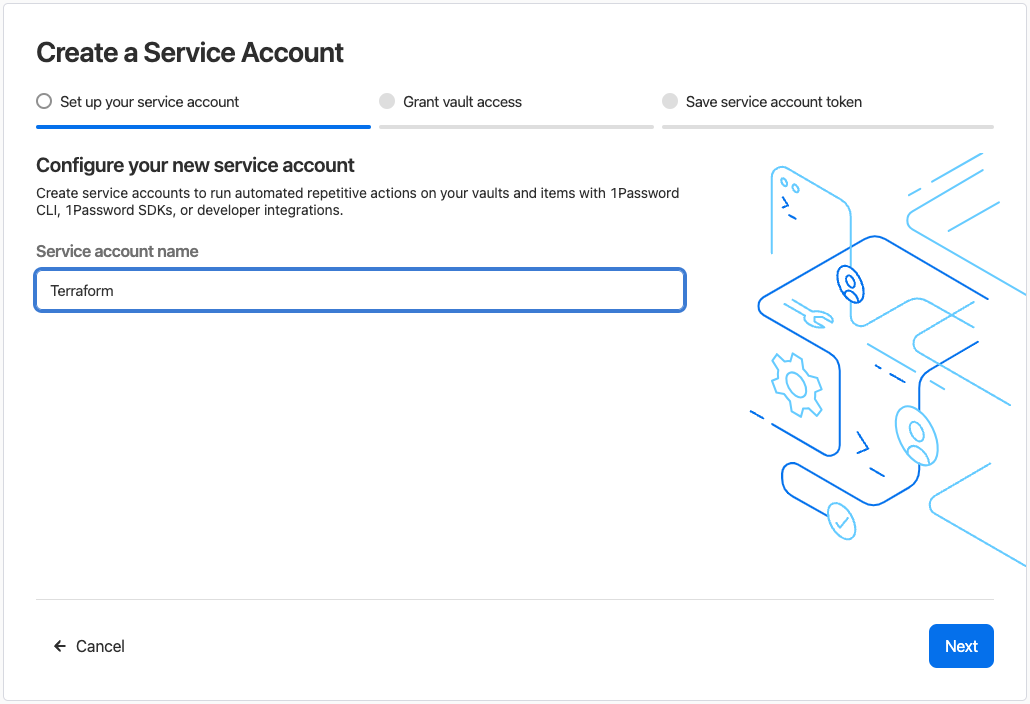
From here, enter a name for the Service Account, I use the name of the service which is ‘Terraform’ in this case. You can then click next.

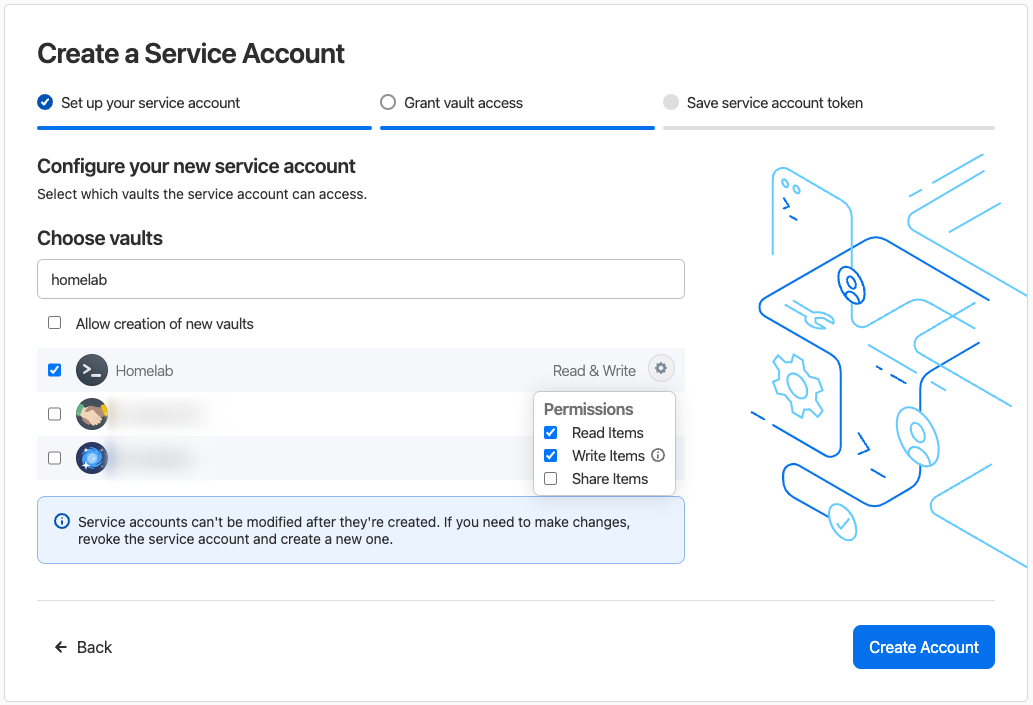
Next you will need to select the access for the Service Account. I chose Read/Write access for my “Homelab” vault, as I want Terraform to be able to create, manage and retrieve secrets.

Finally, click ‘Create Account’ and you will be taken to a page where you can see the API token for the Service Account. Save this to your vault as you will need it later.
Setting up the devcontainer
Now we have a Service Account token, we need a way to pass that into something the Terraform Provider can use. As I am using a devcontainer for the repo, I can add the token to the environment variables the 1Password CLI will build into a .env file. To do this I added the following to the .env.1password file in the root of the repo:
export OP_SERVICE_ACCOUNT_TOKEN="op://Homelab/1PW Service Account/credential"
The name of the environment variable is specifically the variable that the provider looks for, so it’s important to use this exact name.
Now when I run just build-env, 1Password will build the .env file with the token in it so that I can load it into the devcontainer.
Adding the 1Password Terraform Provider
The final step before we can use the provider is to add it to our Terraform configuration. I am using the terraform.tf file in the root of the repo for all our providers, so I added the provider as follows:
terraform {
    required_providers {
        onepassword = {
            source = "1Password/onepassword"
            version = "2.1.2"
        }
    }
}
As we are using the Environment variable for authentication, there aren’t any other configuration options required. So I can remember this, I added a section to the file to remind me in the future.
// -------------------------------------------------------------------------------------------------
// OnePassword
// -------------------------------------------------------------------------------------------------
provider "onepassword" {
  // No need to authenticate, we use the OP_SERVICE_ACCOUNT_TOKEN environment variable
}
Using the Provider
We can finally start using the provider in our Terraform configuration. As this configuration is for my homelab, there are a few secrets that I will resuse across multiple systems, such as my SSH key. I have added a onepassword.tf file to the root of the repo to manage these secrets that are going to be used across multiple areas.
data "onepassword_vault" "homelab" {
    name = "Homelab"
}

data "onepassword_item" "homelab_ssh_key" {
    vault = data.onepassword_vault.homelab
    title = "Homelab SSH Key"
}

locals {
    homelab_ssh_key_public = data.onepassword_item.homelab_ssh_key.public_key
}
This does three things:
- It fetches the Homelab Vault information
- It fetches the item
Homelab SSH Keyfrom the vault in part 1 - It creates a local variable we can use with other resources containing the public key
Somethings are a bit more complex to fetch, such as non-standard fields. To fetch these you essentially have to search for the index of the item with a field that matches the value you are looking for. The default fields are:
credentialdatabasehostnamepasswordportprivate_keypublic_keytagstypeurlnote_value
data "onepassword_item" "complex_example" {
    vault = data.onepassword_vault.homelab
    title = "Complex Example"
}

locals {
    complex_example_field = data.onepassword_item.complex_example.section[indexof(data.onepassword_item.complex_example.section, "Complex Section")].field[indexof(data.onepassword_item.complex_example.section[indexof(data.onepassword_item.complex_example.section, "Complex Section")].field, "Complex Field")]
}
This will fetch the value of the field Complex Field from the section Complex Section in the item Complex Example. I haven’t seen a way to fetch a non-standard field that isn’t part of a section, so that may be something to think about when creating new items.
Conclusion
Now we have a way to fetch secrets from 1Password we can start to build out infrastructure and ensure that we are using the secrets in a secure way. Next up will be to use the provider with Proxmox to create VMs ready for Kubernetes.